Putting together a quick report of how I spent my last 3 months on improving varnam, an awesome transliteration project. My task was to implement a stemmer to improve the learning in varnam.
A stemmer is an algorithm that, upon giving a word as the input, gives the base word as the output.
For example, giving മരത്തിലൂടെ as the input would give you മരത്തിൽ and മരം as outputs. മരം is the final output of the stemmer and മരത്തിൽ is an intermmediate output of the stemmer. The algorithm is described here. The stemmer is similar to SILPA stemmer created by Santhosh Thottingal except that my version makes use of an exceptions table and produces meaningful intermmediate words.
A screencast that explains my work is posted above. Make sure you watch it in 720p to clearly see the words being typed.
As far as statistics go, see this thread to know how much the learning has improved. This is not the final result, as the number of words learned is of no consequence if the stemmer does not improve transliteration accuracy. Transliteration accuracy tests before and after the tests are yet to be done thoroughly. Judging by the number of new words in the word corpus alone, varnam saw an improvement of 63% in learning when tested with 408 words.See the above thread for the exact results and the word corpus used.
This week I’ve been busy rewriting the stemmer and debugging some memory heap corruption. My first implmentation of the stemmer used to crash ibus whenever certain words, like “ദൂരെയാണ്” and “വിദൂരമായ” were typed. I could not locate the problem, and the only error message I got was “free() – invalid next size” when ibus crashed. Some searching revealed that it might be due to a memory heap corruption. I used valgrind memcheck to debug the memory corruption. It was difficult to make sense of valgrind’s output, and that eventually lead me to ask a question at stackoverflow. However, before all this, I was convinced that I made some serious mistake somewhere along the development path and decided to sit down and rewrite the whole project. I thought that I made a mistake by not testing with ibus early on. I discovered what I was doing wrong to merit the memory corruption soon after (even before the guy came in and gave his answer at stackoverflow.com). However, I realised that a rewrite would do the project much good. To start with, I could then run valgrind as I went with the rewrite to make sure that I plugged all the possible memory leaks. Also, I was able to look into some unnecesary function calls among other things. In short, I cleaned the code and is ready for a code review.
Here’s a changelog:
1. Tried implementing the “improvement scheme”, as I had suggested in this thread. The results were far worse than expected. 60% of the words after suffix appending were not meaningful. Any further attempts along this path would require much more careful planning and reasearch of the malayalam language.
2. Located and avoided [did not stonewall it] an annoying memory corruption. Filed it under issue 51.
3. Removed the level hierarchy. All stemrules are now grouped into one. Splitting the stemrules into 3 levels serve no real purpose, and complicates stemming by needing to check each level seperately. Also, removal of the level system has improved the code readability a lot.
4. Replaced some function calls with inline expansions. Made all the functions more defensive and freed memory wherever valgrind reported memory leaks.
5. Libvarnam ibus requires a clean build every time libvarnam.so changes. It seems that libvarnam-ibus has its own version of libvarnam or something. Should look into this. Ibus not reflecting the changes I made to libvarnam was a real headache – no amount of debugging could solve the issue. Tried recompiling libvarnam-ibus and things started to work.
6. Eliminated recursive calls to varnam_learn(). In the first implementation, varnam_learn() would call varnam_stem() which calls varnam_learn_internal(). This was bad design. Now varnam_stem() returns a varray to varnam_learn(), and varnam_learn() iterates over this varray to learn all the stemmed words.
These changes are not final. Some of it, like doing away with the level system, was done without consulting my mentor and would be reintroduced if he thinks that removing it was a bad decision. You can see all my changes here and make suggestions.
To do :
1. More tests
2. Make sure stemmer works well with other languages
3. Enable varnam to stem from the command line interface
Before more thorough testing of the stemming algorithm and its effect on varnam’s learning, my mentor and I decided that it would be a good idea to do some code review. So this week I fixed some problems with the stemming, tested how the stemming works with ibus input method, checked if learning is improving at all, and wrote some unit tests.
Stemming with IBus works, though with some bugs. Let us consider a case that works. The learnings database is now empty and we are starting with the blank state. Varnam does not know anything other than the symbols specified in the scheme file.
The below video demonstrates varnam learning a word with Ibus as the input method. The next time the user starts to type the same word, you can see that its stemmed forms are available in the suggestions.
Right now the only cause of concern with the suggestions is that incomplete words are suggested first, and the user has to go through the suggestions list to find the intended word. Also each time varnam learns a stemmed word, all its prefixes are learned as well. This will eventually lead to the incomplete prefixes coming up first on the suggestions list and the user will have to look through the list to find the word she is looking for.
There are some bugs, like some words dissappearing when I choose them from suggestions. The varnam_stem() function is possibly modifying some things that it isn’t supposed to. I’m also getting errors when I’m using free() – invalid next size(fast). Maybe the upcoming code review will expose my mistakes.
Progress has been slow the past week, thanks to some non-academic preoccupations and a trip home. However, had I been a bit more organized, I would have been more successful at the rather mundane task of testing out the stemming accuracy.
There are some design changes. Some stem rules did not gave the desired results in all cases. That is,there were exceptions. One particular stem rule that was giving me considerable headache was “ന്” => “ൻ”. For example, ആദിത്യന് should stem to ആദിത്യൻ. But while this worked wonderfully, പിറ്റേന്ന് would be incorrectly stemmed to പിറ്റേന്ൻ. This is because ന്ന is actually a combination of ന് and ന. So ന്ന് is actually ന്+ന് and my algorithm stems the first ന് to ൻ (see previous post).
This problem can be solved by using a look ahead. A look ahead in its proper and fully scalable (that is, an algorithm that can look ahead any number of characters) can turn out to be too much so I decided to test the idea with a single look ahead. Along with stem rules, I added another table to the database “stem_exceptions” that contain exceptions for each stem rule. For example, the exception rule for ന് is “ന്” => “ന്”. This tells varnam to NOT stem ന് to ൻ if the syllable preceding ന് is another ന്. This will ensure that varnam will ന് to ൻ in all cases except when it occurs as a part of ന്ന്.
Lucky for me, the exceptions table proved useful with many other stem rules. A look ahead of a single syllable seems to satisfy varnam’s need at least with malayalam. I had to implement some helper functions that returns the last syllable of a word (eg: in ആദിത്യന്, the last syllable would be “ന്”, and the last unicode character would be “്”) and another that can count the number of syllable in a word. The count of the syllables is useful to skip stemming of very short words. For example, varnam do not apply a stem rule if syllables_in_original_word – syllables_in_suffix is less than 2. The number 2 is arbitrary, but solves some common problems such as മകൾ. As a happy consequence, now varnam will not stem മകൾ at all but will stem പേനകൾ to പേന. Though this is not a permanent nor a complete solution, it is enough to prevent some common stemming mistakes.
I’ve been able to test the accuracy of the algorithm on some malayalam wikipedia articles. I made 3 sets of about 1000 words each. Contents of each set belonged to a particular category. My rather small test data is hosted at this repository. Here are the results for each set:
Give or take 2% from each set, though I’ve been quite liberal in flagging results as errors. The fact to be noted is that if a word that should not be stemmed is not stemmed, it counts as a correct result. I do not know if this is how other stemming algorithms are tested. If 3000 definitely stemmable words were given as input, there is a considerable chance that the accuracy would be lower.
I would have loved to test the data on some more recent corpus such as mathrubhumi newspaper archives. But there was some issue with the font, especially the chillus, that represented the malayalam letters quite differently on the konsole than how they were rendered on the browser. For example, words ending with ൽ in the browser was seen to be ending with ല് when I copied them to the konsole. Hence, the stem rules did not match with many suffixes and produced a lot of incorrect stemming or no stemming at all.
One thing I’m happy to observe is that given a word, the stemmer is producing multiple words that varnam can learn in diffent stages. For example, കാലങ്ങളുടെ would first stem to കാലങ്ങൾ (which varnam learns) and then to കാലം (learns again). If all goes well, I will be able to test and tweak the algorithm extensively this week and hopefully start estimating how much the suggestions are improved. Then, I hope, will be time for some code reviewing with my mentor.
Very productive ten days. Libvarnam is finally stemming the words. I might not be so wrong in stating that the project is almost half complete. I’ve come up with a multi-pass stemming algorithm (although no flow-chart drawing was required – maybe I’ll draw one for clarity later) that has the *potential* to stem with a reasonable accuracy. Since the algorithm is intended to serve as a platform for many Indian languages, proper documentation is quite important. As a first step, I’ve made a separate github repository putting together the thought process that went into designing the algorithm. The first draft of the algorithm is in the file “03algorithm” here. Please note that the files 01classification and 02implementation are not updated – those are just things I jotted down.
A rather quick explanation :
The varnam stemmer removes suffixes from malayalam words to obtain the base word. For example,
വേദനാജനകമായ : വേദനാജനകം
The algorithm does this by using a set of rules, called stem rules. The stem rule that was used in the above example is :
“മായ” => “ം”
These rules can be classified into 3 : level 1, level2, and level3. Level1 contains the shortest rules, and the most basic ones. Level2 contains the most common rules and are often 2 syllables or more long. Level3 contains the longest suffixes, like “യിരിക്കുന്നു” => “”. (More on levels at “01classification” here). For now, the classification into levels is rather a convenience than a necessity. I decided that one long list of stem rules is ugly and dividing them into 3 would be nicer. So there you go.
These stem rules reside in a database.
1. Compile the scheme file and insert values into stemrules table

2. buffer = empty_string_bufer

3. Do not stem if size of word is less than 10 bytes. (Min_stem_size)

4. While (termination_condition() is not met)

4.1 Get last letter of the word and insert it at the beginning of the buffer

4.2 if buffer is in level1

4.2.1 apply stemrule from level1, word is modified

4.2.2 if(independent_existence)

4.2.2.1 learn word

4.2.3 clear buffer

4.3 else if buffer is in level2

4.3.1 apply stemrule from level2, word is modified

4.3.2 if(independent_existence)

4.3.2.1 learn word

4.3.3 clear buffer
4.4 else if buffer is in level3

4.4.1 apply stemrule from level3, word is modified

4.4.2 if(independent_existence)

4.4.2.1 learn word

4.4.3 clear buffer
5. Learn the stemmed word
TERMINATION CONDITION

1. Return true if :

a) The word ends with ം.

b) If the word ends with a consonant and there is no added swara eg : പരീക്ഷ (pareeksha)

c) If the buffer contains the rest of the word (or whole of it).
There is something wrong with code indentation in wordpress. Click on the screen shot to see the neatly indented version on sublime text editor.
The algorithm
For example, consider the stemming of the word എന്നിവിടങ്ങളിൽ. Initially, the buffer is empty.
1. Shift word ending to buffer. Buffer now contains ൽ
2. Buffer contents (ൽ) does not correspond to a stem rule in any level.
3. Shift word ending to buffer, buffer now contains ളിൽ
4. There exists a stem rule in level 2 “ളിൽ” => “ൾ”. Apply this stem rule to the word. Word now becomes എന്നിവിടങ്ങൾ
5. Clear the buffer
6. എന്നിവിടങ്ങൾ is independent. That is, it is a meaningful word. Hence learn it. This step (learning) is not necessary in stemming, but is crucial to improve varnam’s predictions.
7. Shift word ending to buffer. Buffer now contains ൾ. Not part of a stem rule.
8. Shift the next ending to buffer. Buffer now contains ങ്ങൾ. There is a stem rule “ങ്ങൾ” => “ം” in level 2. Apply stem rule, and the word becomes എന്നിവിടം. (Varnam learns this word too)
9. The algorithm continues by shifting the endings of എന്നിവിടം. Since the contents of the buffer will not correspond to a stem rule at any point of time, the algorithm eventually terminates.
The termination condition needs some refinement. Condition a) and b) is not being used right now. Stemming terminates when there is no more element left in the word to shift to the buffer. This seems to work fine right now, and if it continues to work, I will drop conditions a) and b) altogether.
The accuracy of the stemmer is ultimately determined by how good and accurate the design of stem rules are. This requires a lot of trial and error, and some of the stem rules are in the mlstemmer repository. By careful choice of the stem rules, an accuracy of more than 80% is expected.
Preliminary testing
I’ve implemented a stemmer.c program under the examples directory that can read words separated by blank spaces from a text file and stem them. This is the sample input :
വിവിധതരം വധശിക്ഷകളിൽ ഒന്നാണ് കുരിശിലേറ്റിയുള്ള വധശിക്ഷ. ഈ ശിക്ഷാരീതിയിൽ പ്രതിയെ ഒരു മരക്കുരിശിൽ ആണിയടിച്ച് തളയ്ക്കുകയാണ് ചെയ്യുക വേദനാജനകമായ വധശിക്ഷ നടപ്പാക്കണം എന്ന ഉദ്ദേശത്തോടുകൂടി രൂപപ്പെടുത്തിയ പുരാതനമായ ഒരു ശിക്ഷാരീതിയാണിത് സെല്യൂസിഡ് സാമ്രാജ്യം കാർത്തേജ് റോമാ സാമ്രാജ്യം എന്നിവിടങ്ങളിൽ ക്രിസ്തുവിന് മുൻപ് നാലാം ശതകം മുതൽ ക്രിസ്തുവിനു ശേഷം നാലാം ശതകം വരെ കുരിശിലേറ്റൽ താരതമ്യേന കൂടിയ തോതിൽ നടപ്പാക്കപ്പെട്ടിരുന്നു യേശുക്രിസ്തുവിനെ കുരിശിലേറ്റി വധിച്ചുവെന്നാണ് ക്രൈസ്തവ വിശ്വാസം. ക്രിസ്തുവിനോടുള്ള ബഹുമാനത്താൽ കോൺസ്റ്റന്റൈൻ ചക്രവർത്തി എ.ഡി. 337-ൽ ഈ ശിക്ഷാരീതി നിർത്തലാക്കുകയുണ്ടായി ജപ്പാനിലും ഒരു ശിക്ഷാരീതിയായി ഇത് ഉപയോഗത്തിലുണ്ടായിരുന്നു മരണശേഷം മൃതശരീരങ്ങൾ മറ്റുള്ളവർക്കുള്ള ഒരു താക്കീത് എന്ന നിലയ്ക്ക് പ്രദർശിപ്പിക്കപ്പെട്ടിരുന്നു കാഴ്ചക്കാരെ ഹീനമായ കുറ്റങ്ങൾ ചെയ്യുന്നതിൽ നിന്നും തടയുക എന്ന ഉദ്ദേശത്തോടെയാണ് കുരിശിലേറ്റൽ സാധാരണഗതിയിൽ നടത്തിയിരുന്നത്
I’ve removed almost all the punctuation so that they won’t interfere with the stemming. I’ve taken 2 screen shots showing the results. The results are far from perfect, and that is certainly because I haven’t added that many stem rules to the database. Things should improve significantly in the next few days.
Stem results page 1Stem results page 2
References
I’ve referred two papers for designing this stemmer. The first one, LALITHA uses a longest suffix stripping method and was of little use for varnam. The second one, STHREE, uses a similar algorithm to mine but confines the number of iterations to 3. However, both the papers did not contain any links to stem rules or programs that could be reused. Hence I’d be relying on the SILPA stemmer, the first stemmer in Malayalam, for the invaluable stem rules.
But I would be looking for a more exhaustive set of rules (hopefully) and will have to do quite some Malayalam reading. Apart from the Mathrubhoomi newspaper which will definitely be soaked in curry and tea by the time I could carry it away from the mess hall, Malayalam reading materials are actually hard to come by. But wait, I saw a few SFI magazines on the other guy’s room. Gathi kettal puli pullum thinnum! :p
Another week, and I’m finally working on what I signed up to do – implement a malayalam stemmer. The algorithm itself is still a haze, and I will be sitting down and drawing flowcharts soon. Despite being harassed by university practical exams, I managed to squeeze in enough time to lay down a basic framework. Varnam now has the *potential* to stem.
Something wonderful happened during my last conversation with my mentor. The scheme file, which looked like an ordinary text file full of rules to convert manglish (a blend of Malayalam and English) into malayalam, turned out to be a ruby file. I’m telling you, this is a ruby program! Its actually called the scheme file. The titles “consonants” and “vowels” and the like are actually function calls. Ruby does not need paranthesis to call a function. Beautiful.
Yes, I learned a bit of ruby to add the functionality I needed. I added a few stem rules to the scheme file which gets added to an sqlite3 table when I compile the scheme file. I learned how to call c functions from ruby using FFI and also added a “–stem” option to the list of arguments accepted by varnamc.
varnamc --symbol ml --stem പരീക്ഷയാ
gives the following output:
പരീക്ഷയ്
Doesn’t make much sense, I know. But under the hoods, varnam checked if there is a stem rule for the ending “ാ” in the database and seeing that there is, substituted the ending of the supplied word with the ending specified in the stem rule (“്”). The above stemrule doesn’t serve any purpose, and will be conveniently removed after I draft the algorithm.
Now I have to write tests for all the functions I wrote. I wonder how much of the codebase I broke already.
I’ve been longing for this day (/night) for almost an year now! I’ve finally, finally, got some data from an electret mic and finally got it into a beaglebone black. If you really want to understand the depth of this achievement, please go through what I’ve been doing for the past few months:
That’s a lot of questions. And I got a lot of answers. Though I’m no where near completing the actual project, at least getting it started is a relief. I’ve tried making my own amplifier, tried an audioboard from hrc, tried another opamp IC for amplifier, and finally hit upon this :
The previous amplifiers I made might have been working fine – I just might not have read the values properly. Anyways, its working now and that’s all I care about.
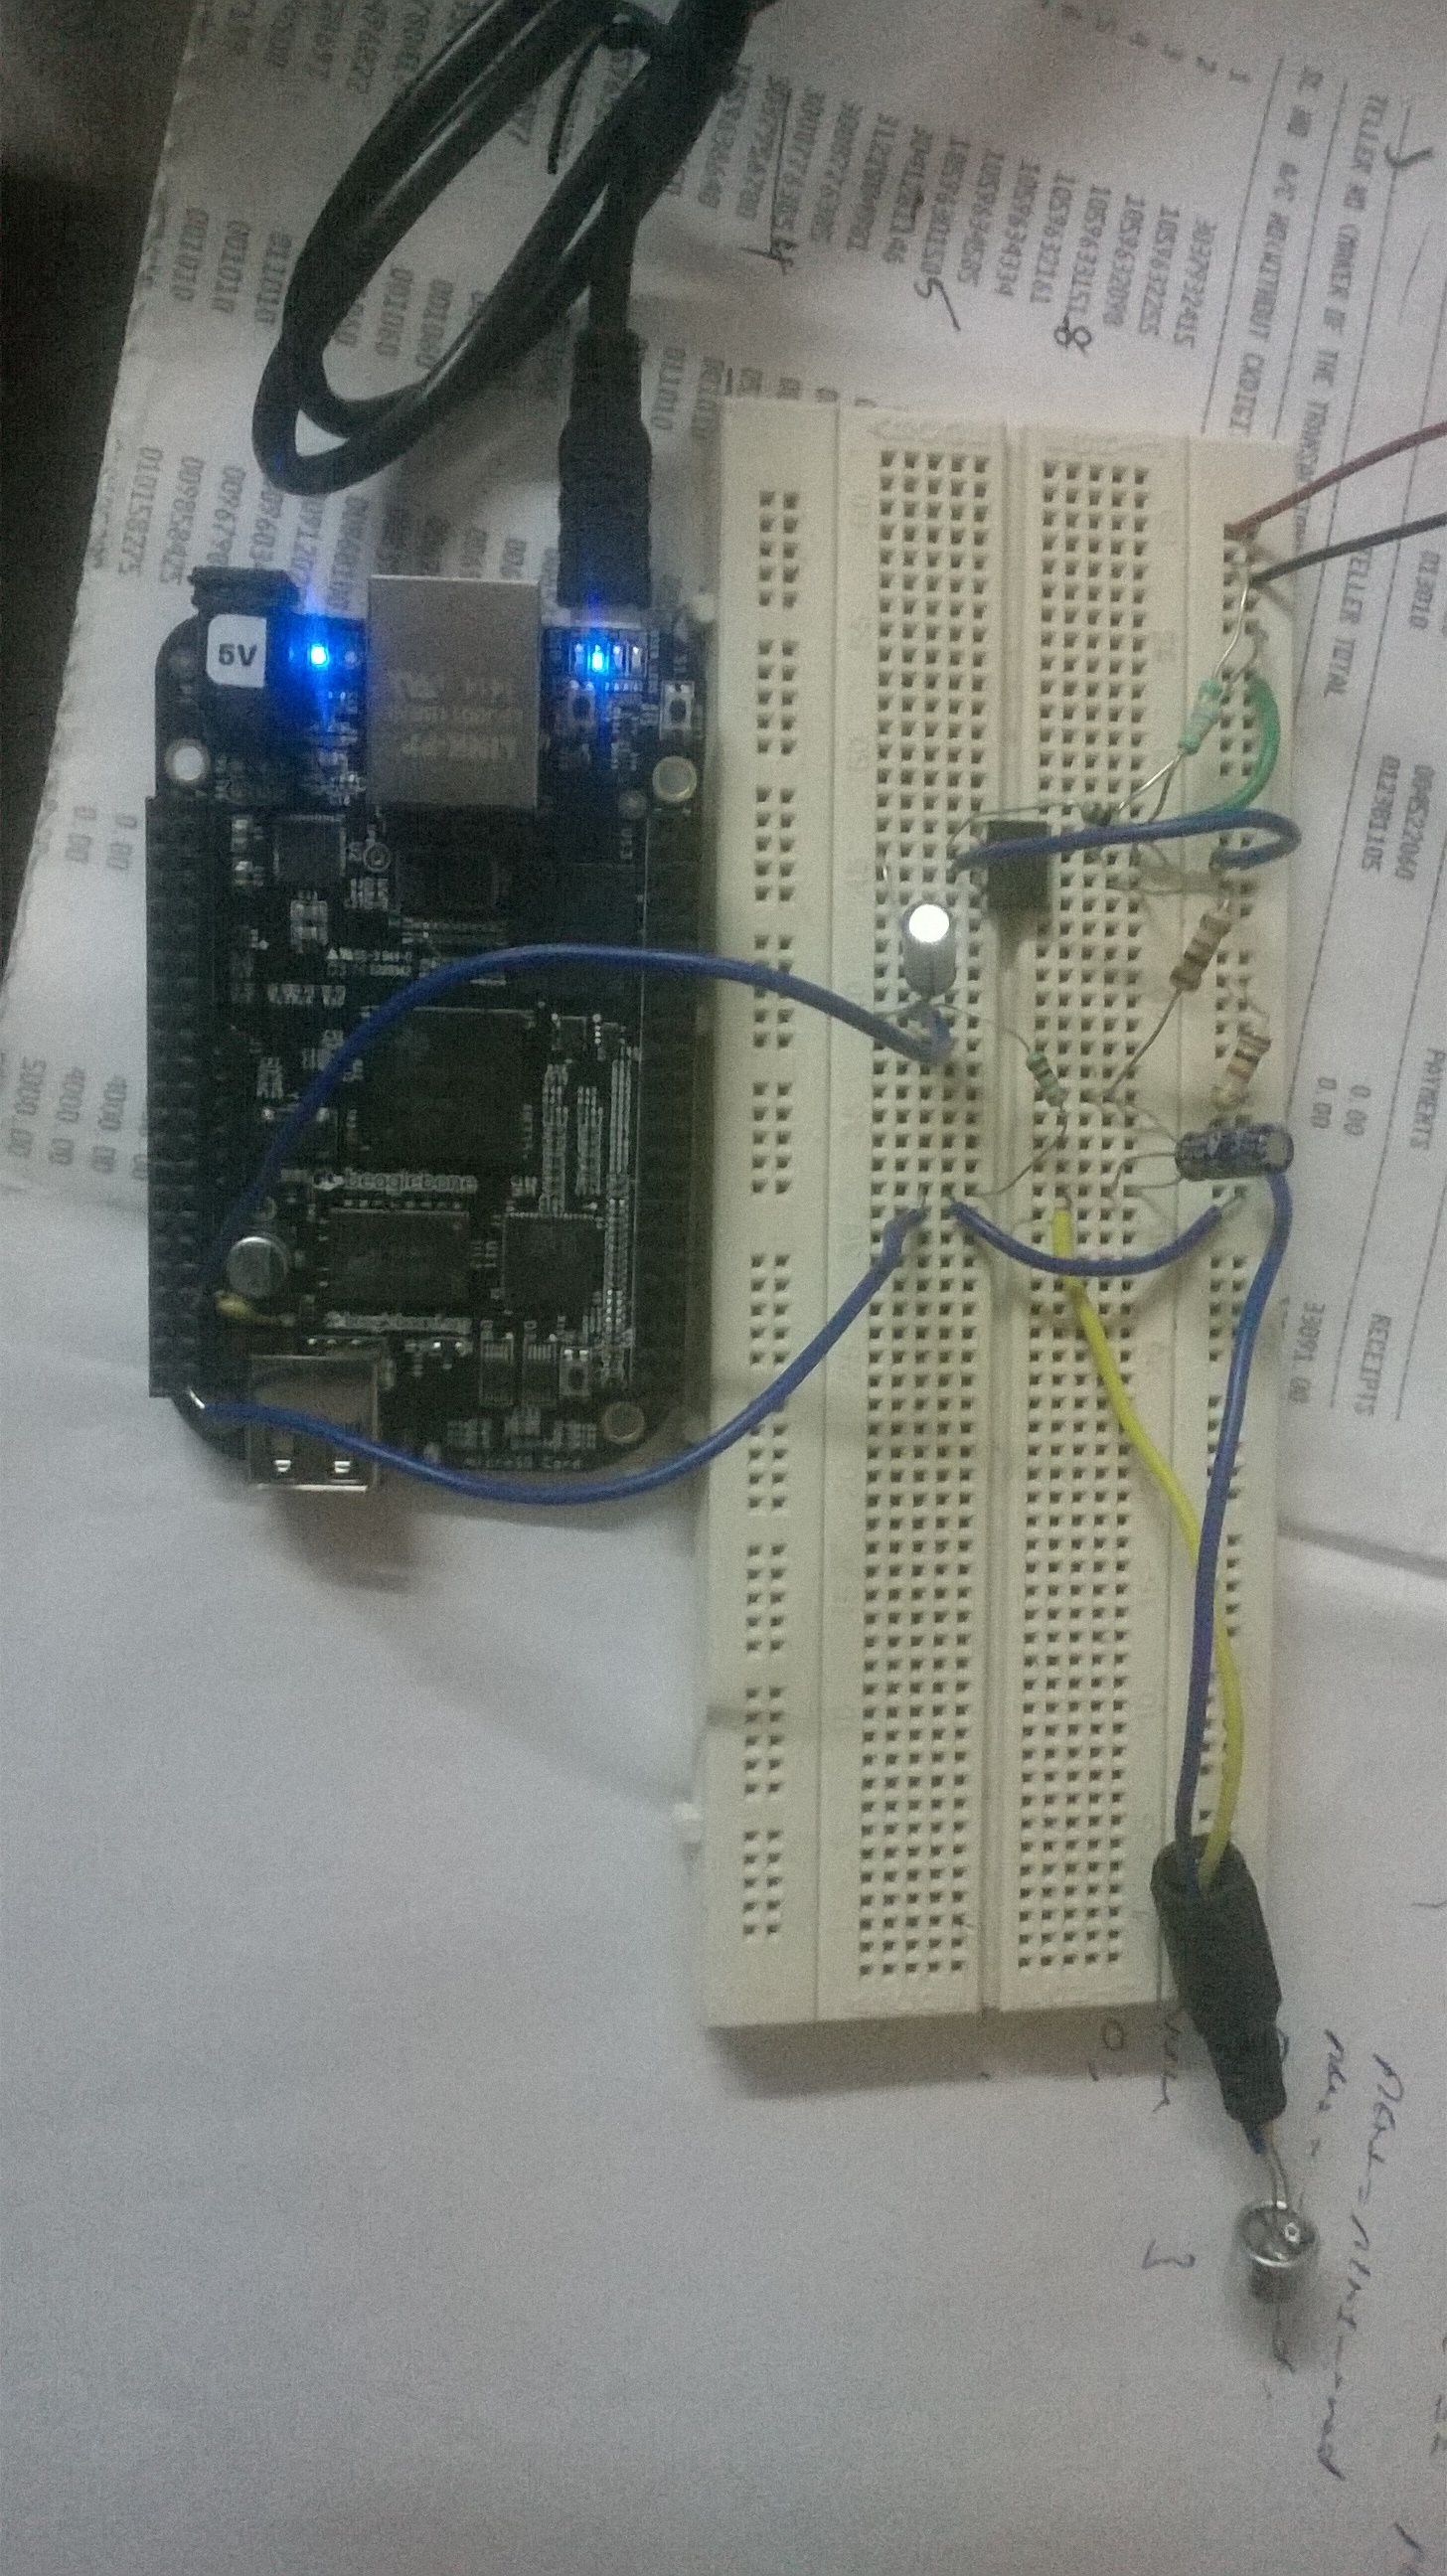
Ain’t she a (black) beauty?
Components : Everything that was in the previous link containing the circuit diagram. I did not have 10 uF capacitors so I used 22 uF instead.
Beaglebone black : The INR 4200 beast. This board is being sold out faster than it is being produced. Lucky we could order one!
The process is pretty straightforward now that it works. The beaglebone black has a set of analog pins that can read analog inputs. I connect the mic (which produces voltage variations in the range of 20mv) to a preamplifier (built using the circuit diagram in the link and 741 opamp) and the output of the preamp (in range of 1 v) is given to the analog input of the BBB. When the sound hits the electret mic, it produces a voltage that is proportional to the amplitude of the sound. This is the signal we then amplify and finally measure.
Is this enough to do some signal processing and thus continue the project? Now that requires more experimenting and is a matter for another post.
I made the mistake of not connecting the ground of beaglebone black to the ground rail in the breadboard and cursed many perfectly working amplifier circuit because it BBB did not read.
Now we have to read this value using beaglebone.
First, enable the input output pins :
echo cape-bone-iio > /sys/devices/bone_capemgr.*/slots
If that step went well, you should not see any messages.
Then I wrote a small python script to read the analog pin 1 continously :
import os

import time
while 1:
os.system("cat /sys/devices/ocp.2/helper.14/AIN1")
time.sleep(0.1)
Replace AIN1 with your analog pin (for eg: AIN2 or AIN3) and the value in time.sleep with your desira
ble delay between reads. Saved it as test.py and python test.py does the job.
BBB reading values (look hard. They’re there). Only positive values can be read. I should have given a DC bias.
The beaglebone black can read only voltages till 1.8 volts on its analog pins. Also, it can only read DC. That is why there are a lot of 0s in my screenshot – that’s where the negative voltages should go. The solution is to give a DC bias to the analog signal. Say we give 1v bias. Then the readings would be around 1V and will go below 1v when a negative peak occurs.
Its been two weeks since community bonding got over and I’ve been making slow but steady progress. A couple of new bugs has surfaced and I will be fixing them before moving on to my main task.
Also, varnam project has been moved to github owing to gitorious being too unstable/unreliable.
I walked (crawled would be more appropriate) into some new territory the past week :
1. Unit tests : Every software project need unit tests. Unit tests make sure that all the tiny little parts (units) of the software function the way they are supposed to function and that you did not accidentally break anything with your new commit. I had heard of them, but I never thought I’d have to do them in c. Varnam uses check for unit testing. I wrote a patch that checks for the validity of the suggestions file libvarnam receives and wrote a test case for it. I learned to do stat calls to a path, rather than using fopen() to check if the file exists. Being the beginner I am, I did break something because the test fails at 70%. Should look into it.
2. Merging : I finally understood what merging is in git, though a bit painfully. Somehow I couldn’t digest the fact that git could simply “merge” all the changes that I made and all the changes (possibly overlapping) that some one else made into something that works. The other guy could have completely removed the stuff I’ve been working on from his commit! I just found out that doing so results in conflicts, and git won’t merge the branches until the conflicts are resolved. Bloody mess. Thankfully, there are wonderful tools like meld that makes resolving conflicts a lot less painful. Besides, the conflicts I had was of a less “violent” nature. So there I go, making my very first (meaningful) merge and a pull request
3. Travis : Just when I thought that the day is done, Travis CI reported that the build failed. Travis? Travis is a continous integrations tool integrated into github. This means, every time I push into a repository, Travis builds (does cmake . , and make) the project after merging my pull request and then runs the test cases to see if anything is broken. And yes, I had broken quite a few things. My new patch completely fails a few assertions.
****************I called it a day and went to sleep*****************
I spent almost the entire day debugging and the tests continued to fail. Apparently some files that should have been generated are simply not there. I created a quick hack, and put together a new pull request. At least the tests are proceeding better now. Travis still fails. Perhaps my mentor can help me with that.
Steam rocks! Playing monochrome demo in linux mint, steam client. I move my hand to the side vent, and is that my graphics card heating up? Couldn’t be! (teary eyed and feeling grateful)
No lags, and graphics quality set to highest. Ok, monochrome is not THAT heavy. But hey, it’s a AAA title and it’s running on linux!
It really doesn’t matter. But geeks and fanboys support their favorite desktop environments with religious fervor out there. If you’re ever in doubt, just pick one and go. The next n paragraphs are on how and why I switched from KDE to cinnamon.
(Desktop environments in linux are more less like themes in windows – and more. Get started with linux here)
I was running a linux mint 15 KDE on my computer till now. It was not a stable version (based on ubuntu 13.10) and had quite a few broken things in it. Worse – I couldn’t get the latest (and the greatest) version of firefox from the repositories – the newest version that was available was firefox 27. So I decided to upgrade my OS and since there was a general idea that KDE was heavy on resources, I thought I’d give cinnamon a try. But a quick glance at the forums made it clear that KDE is not as heavy as it used to be. It boots like a snail, true. But once you actually start doing something KDE seems to use less memory than ubuntu’s unity.
So, I installed linux mint 17 cinnamon without any problems. I was disappointed to see that it took as much time as KDE to log in, even though it was supposed to be lighter (I was wrong, cinnamon is faster, read on!). However, cinnamon was super snappy when I started clicking things, and to my surprise, had everything I wanted! It is true that you can’t tweak cinnamon to the extend you can tweak KDE. But cinnamon had just the right things for me. The default wallpapers are no good though, and I quickly went in search of wallpaper packs.
Desktop : You will have a harder time finding wallpapers that go with the default green icon set
Switching workspaces is sweet, and considerably faster than the 3D cube in KDE (you can turn this off, but I couldn’t resist it while I was using KDE). Pressing ctrl+alt+ quickly takes you between workspaces with a swish. Yes, an audible, annoying “swish”. Also, it displays “workspace 1” or “Workspace 2” when you switch into the corresponding workspace. I quickly changed the workspace labels to “Home” and “Development”. I haven’t decided what to do about the “swish” yet. To my disappointment, it is not possible to have different wallpapers for the different workspaces. This is a complete let down. But a quick search revealed that only KDE has implemented this feature so far. Moving on, I configured ‘hot corners’ – Move your mouse to the upper left corner and all the active windows are lined up in a nice grid. If unity had these (supported out of the box), maybe I would have never moved from stock ubuntu. Move mouse to the lower right and it shows the desktop. These are configurable, of course.
Meanwhile, the slow startup time was driving me mad. I did not wipe out my previous OS for this! I got so pissed I downloaded and installed the 64 bit version of Mint 17 cinnamon. What a relief! Faster and snappier and me happier! I now remember that my previous KDE was 64 bit. On comparison, cinnamon 64 bit is definitely faster.
Window switching : When I go to the upper right corner
Oh, and now I have nvidia drivers by default now. Optimus do not work yet, but prior linux distros I tried didn’t even detect my card, and installing nvidia drivers almost always crashed my system. Nvidia nouveu was selected as default (no hardware acceleration) and proprietary drivers from Nvidia were listed as well. However, switching to proprietary drivers crashed cinnamon, and kept crashing until I switched back to Nouveu. This was expected since I have an optimus card. Might have worked if I was on a desktop.
Since I have the name sake Nvidia drivers now, decided to try steam on linux. Opened up software centre to install steam, and uh oh, its less bloated and more snappy than its ubuntu counterpart. For the first time in my life, I’m using software manager rather than the command line apt-get to install things I need. It gave me great app suggestions and I found myself installing minitube, a native youtube client for streaming content from youtube (which crashed cinnamon – reported by multiple users).
Mint 17 came with it usual share of bundled applications and proprietary codecs to get me started. Torrent client was working (though it took me somewhile to get it to capture magnet links) and steam is downloading monochroma demo.
Verdict? Comfortable, convenient, way thinner (on the memory) than KDE, and way better than everything except KDE (tied).